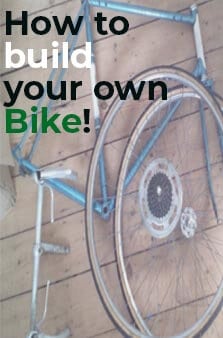
Why not take your daily recreation or commute to the next level by building your own bicycle? There are plenty of benefits:
- Building skills that translate into quick DIY repairs
- Getting the exact bike you want
- Having the freedom to choose the most sustainably manufactured components
- Learning to modify, upgrade and fix your bike so you never have to replace it
Going green with transportation is one of the simplest and most impactful changes you can make in your life, with instant results for your own health and the condition of your immediate environment.
In this overview, we’ve outlined the major steps you’ll need to take to complete your bike and the equipment you might want for the job. It’s up to you to choose the components you love and fill in details, but don’t worry, most manufacturers fully explain any intermediate steps necessary in their product documentation.
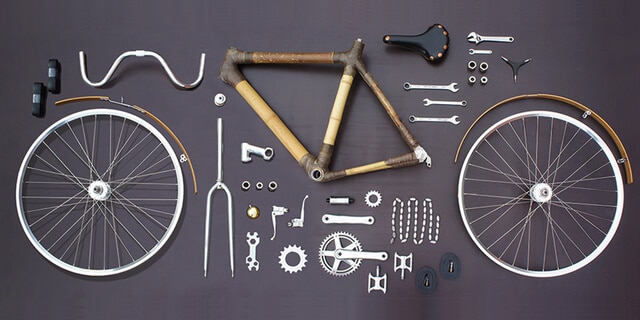
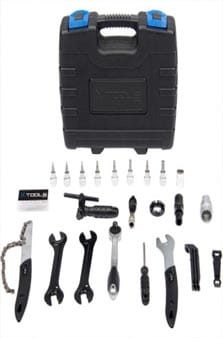
What You Need
As you start to learn how to build a bike, you’ll see that there are many details involved in the process. You’ll need the right tools for the job, and, of course, you’ll also need parts. Here’s a brief list of some common tools and parts needed to get your bicycle from a pile of parts to a working machine. Every bike construction job is unique, so feel free to use our list as a jumping-off point for compiling one that’s specific to your project.
Tools
- Bike stand
- Socket sets, along with ratchet and/or preset torque drivers
- Wrenches, both fixed and adjustable
- Screwdrivers
- Pliers
- Files, hacksaws, blades and/or power cutting tools
- Bottom bracket tools, such as cup tools
- Special presses for headset, brakes and/or bottom bracket
- Tire lifters
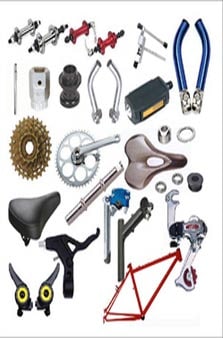
Parts
- Bike frame
- Steering fork
- Headset
- Stem
- Handlebar and controls
- Brakes and cables
- Wheels, tires and inner tubes
- Seat post
- Saddle
- Bottom bracket
The Core of Your Bike
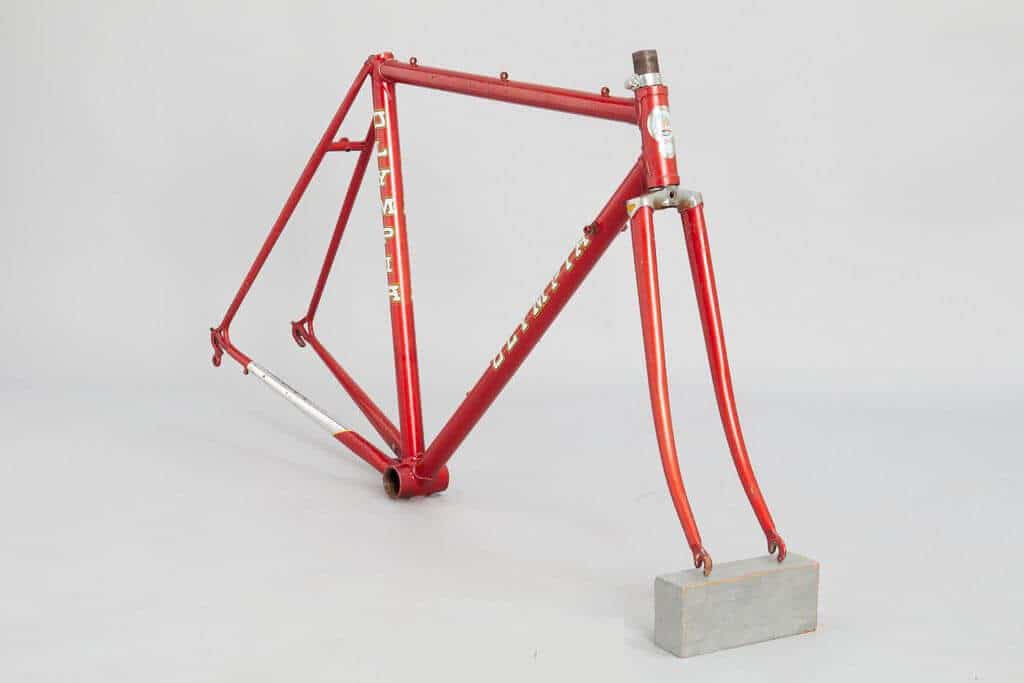
Choosing a frame is one of the most important decisions you make when building your bike. The geometry of the frame determines your riding experience, giving you an efficient way to get to work or promote balance out on the trail. Size makes a huge difference in how well the frame suits you; follow the manufacturer’s measurement instructions to find the perfect fit.
You can also make your frame selection a conscious choice. Here are some ways to reduce your environmental impact with your frame:
- Buy a vintage frame from a reputable outlet.
- Look for bamboo frames.
- Find a manufacturer with sustainable practices.
Not everyone can spend time looking for a quality used frame that fits, and bamboo can put a serious dent in your budget. Don’t let that get you down; it’s important to remember that you’re already reducing your carbon footprint by choosing a bike in the first place. When your frame arrives, all you should have to do is place it in your frame stand, if you have one. Now, you’re ready to start building your new bicycle.
The Fork
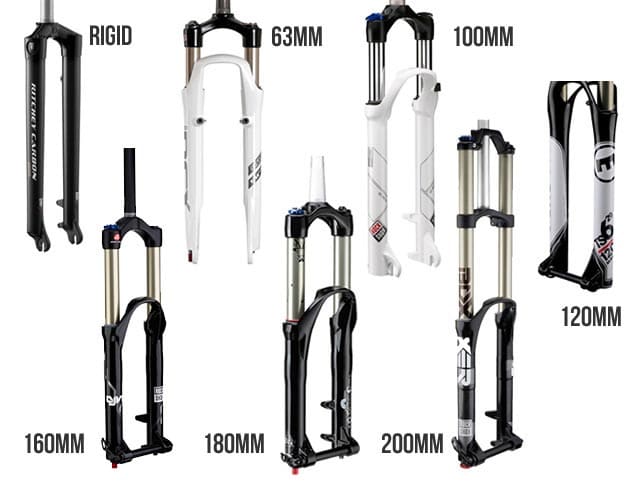
Your fork, the part that holds the front wheel and allows you to steer, is nearly as important as your bike’s frame in terms of performance. You could add something with some heft and shock absorption to keep you comfortable if you’re expecting rough terrain. Otherwise, choose a lightweight road fork for city riding. Even though most forks are made of metals, such as steel, some are also available in more sustainable materials, such as bamboo.
Installing your fork starts with following the manufacturer’s instructions. The directions will probably look something like this:
- Determine your total steering length.
- Measure your fork precisely, cut and finish the edge; err on the side of caution.
- Press your nut and bearing race into place.
- Install your fork.
- Test the installation and torque your part into place.
Getting a Headset
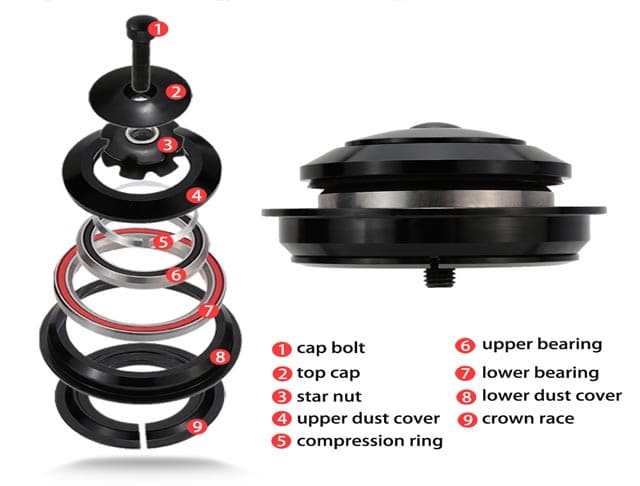
Your headset is a set of bearings and other parts that press into your steering bars. If you want to be able to steer effectively year after year, select a good quality headset and keep it in good condition with seasonal maintenance.
It’s true that there is a variety of small parts involved in headset installation, and that the process needs to be done carefully and correctly. However, it’s really not that difficult. Here are a few pointers:
- Simply laying out your headset components on a work surface helps a lot.
- Specialty press tools might be expensive, but they make the job easier.
- Smooth out your operations by greasing liberally, but mop up excess grease regularly.
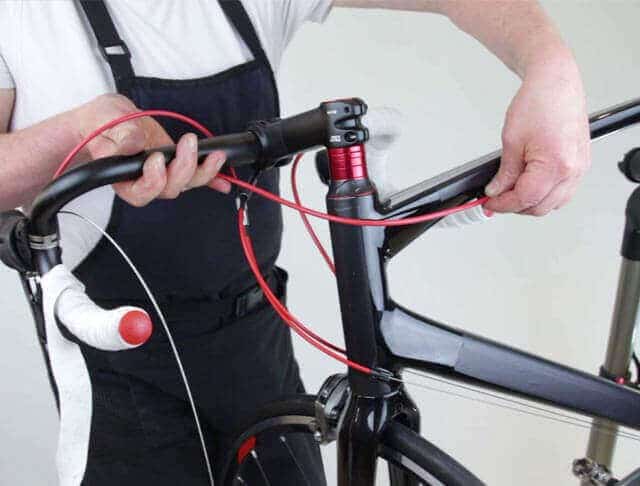
Attached your Stem
Are you ready for some good news? Two of the most difficult parts of your bike-building experience are over. The steering stem goes from your frame to your handlebars, and it’s usually relatively easy to install. Depending on the type of stem you have, threadless or threaded, you will need different tools and processes. Once again, your best resource is probably your manufacturer’s product info.
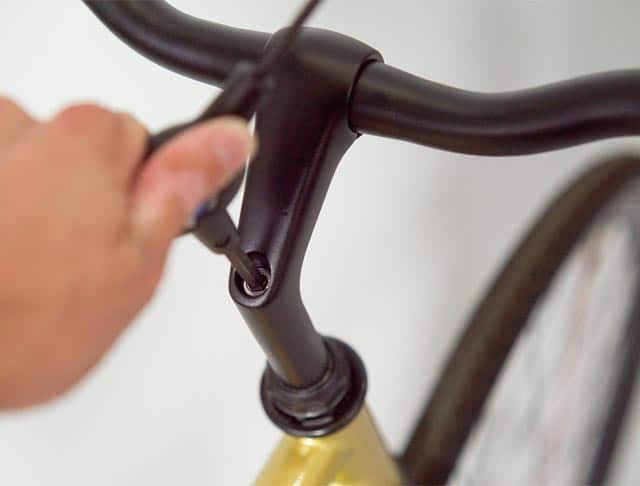
A Firm Handle on Things
Your handlebars, gearshift controls and brake levers come next. It’s usually easier to install gear and brake controls at this point, since you’re already right there working on the stem. Your process should start, of course, with installing the handlebars and then moving on to the controls. It’s usually better to save the grips and grip tape until the next step, installing brakes, is over.
Time for a Brake
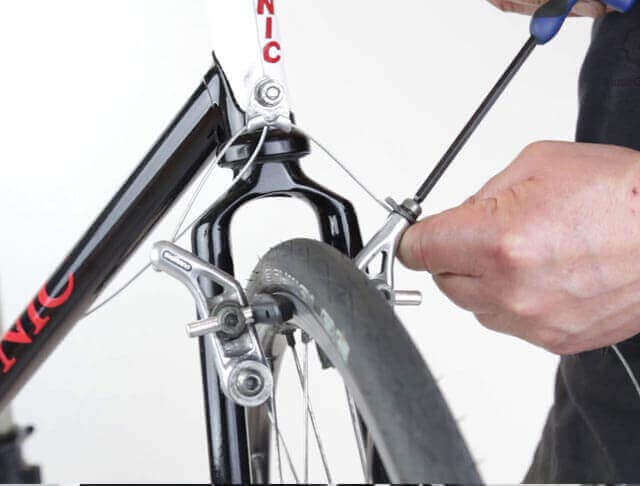
Even if you’re building a fixed-gear bike and don’t think you need brakes, make sure to check local laws to determine whether you’re required to have them. The hardest part of this step is usually maintaining the correct amount of slack in the brake cable. Test the function of the brake levers before you tighten everything fully, or else you’re probably going to end up doing a lot of extra work with your screwdriver and wrench. As long as you have good response, you can deal with the performance adjustments later.
The Wheels and Tires
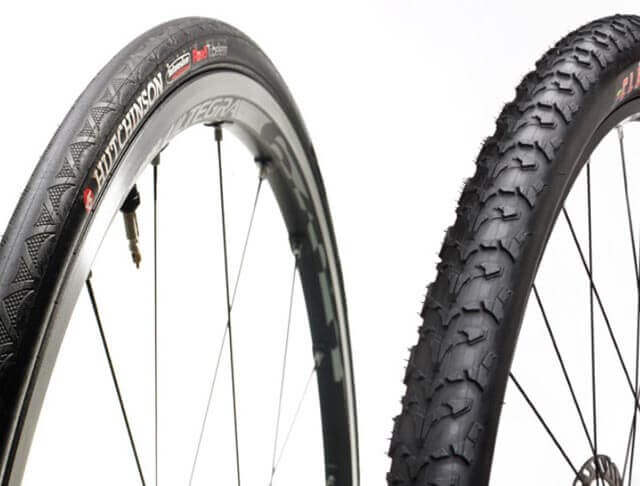
Tires
Installing tires is basically a three-step process:
- Partially inflate your inner tube and set it in the wheel.
- Install the tire and make sure the inner tube is not protruding.
- Inflate the tire to recommended pressure and inspect again before riding.
Wheels
If you didn’t appreciate your frame stand up until now, you will while installing your rear wheel. Install your wheels by releasing the brakes first and placing the wheel hub in the frame or fork. Then, follow your manufacturer’s instructions; they will be based on the design of the wheel.
The Seat Posts
The main error you might make installing a seat post is choosing the wrong one. Make sure you have the correct measurements for both your post and frame tubes to ensure a tight fit. Additionally, you should double-check that your post is comfortable for you when it’s at the minimum insertion point.
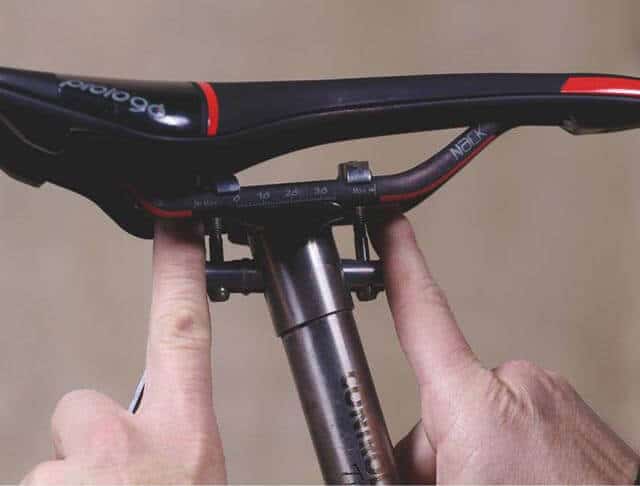
Back in the Saddle
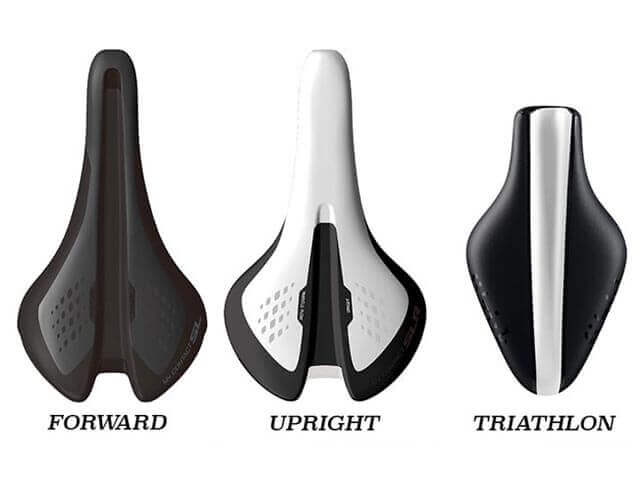
Bike saddles are some of the most important parts when it comes to comfort, so choose one that matches your riding style. You can find sustainably manufactured versions of lightweight seats for racing, big cushy ones for town cruising and any other style. Often, it just takes a wrench to install these to a post.
A Final Step: Your Bracket
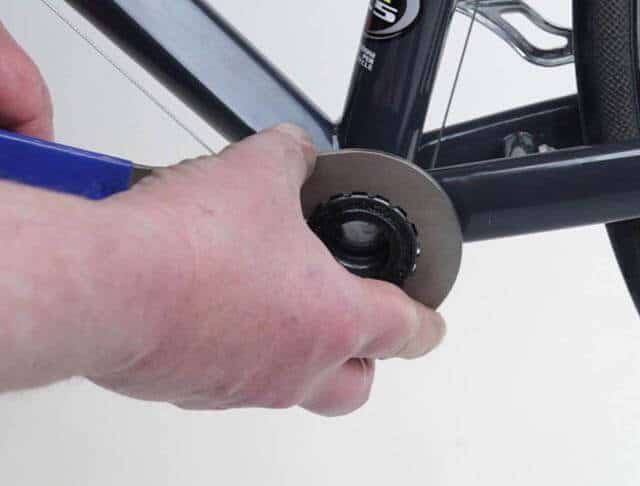
Your bottom bracket installation, along with the fork and headset steps, makes up the most complicated bike-building stages. The bracket holds your pedals and gear crank, letting you turn the power center for your bike. This is an important part, as it’s the lynchpin of the system that allows you to convert your own natural energy into transportation power. There are quite a few fine points to the process. Make sure you install your bottom bracket carefully according to the manufacturer’s instructions to enjoy worry-free operation,